A Step-by-Step Guide for a Premium Viewing Experience
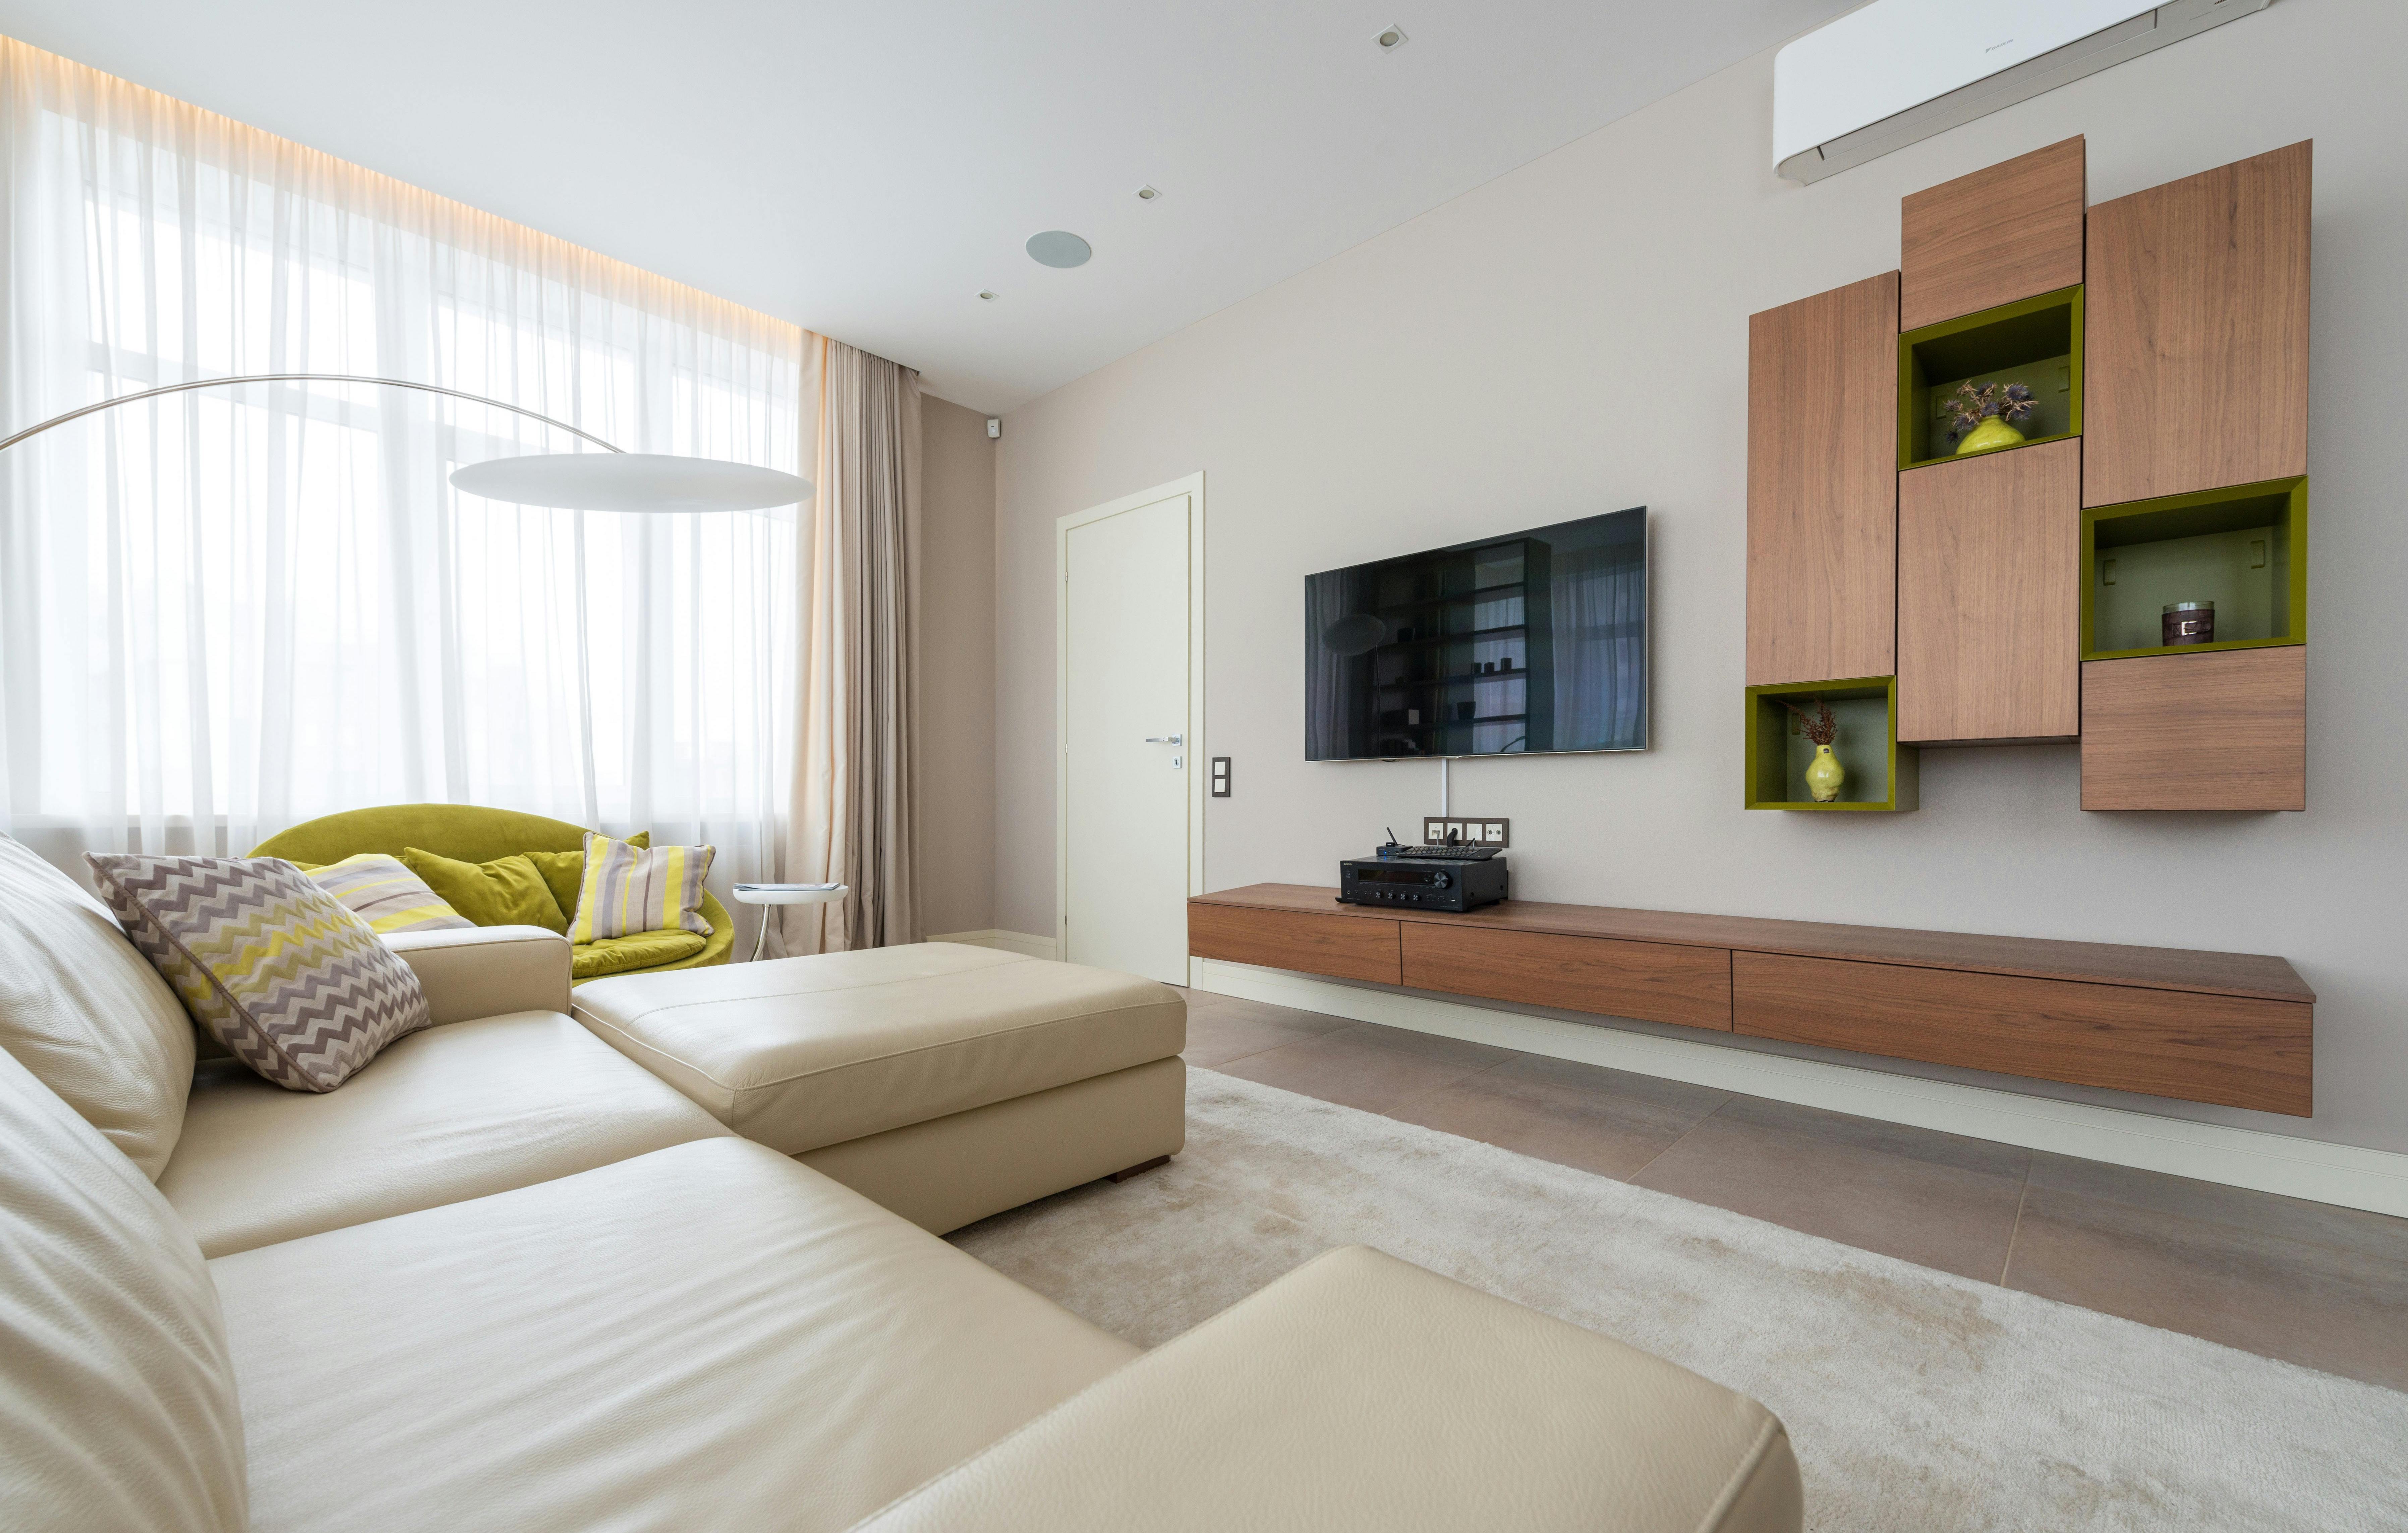
Mounting a TV on your wall can transform your living space, giving it a sleek, modern look while optimizing your viewing experience. However, the process can seem daunting, especially if you're unsure about your wall's structure or the type of mount to use. Fear not! This guide will walk you through the steps to mount your TV securely and stylishly.
Why Wall-Mount Your TV?
Mounting your TV on the wall saves space, reduces clutter, and provides a clean, contemporary look. It also allows for better positioning, giving everyone in the room a clear view. Plus, with the right mount, you can adjust the TV's angle to minimize glare and enhance comfort.Before You Begin
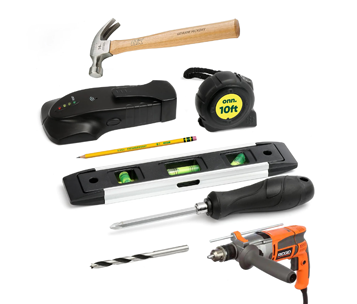
Gather your Tools:
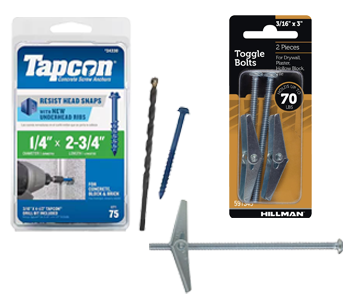
Gather your Materials
Note: Ensure you have the correct mount for your TV's size and weight. Most mounts are designed to fit multiple VESA patterns, which standardize the distance between mounting holes on the back of your TV.
6 Steps to Mount your TV
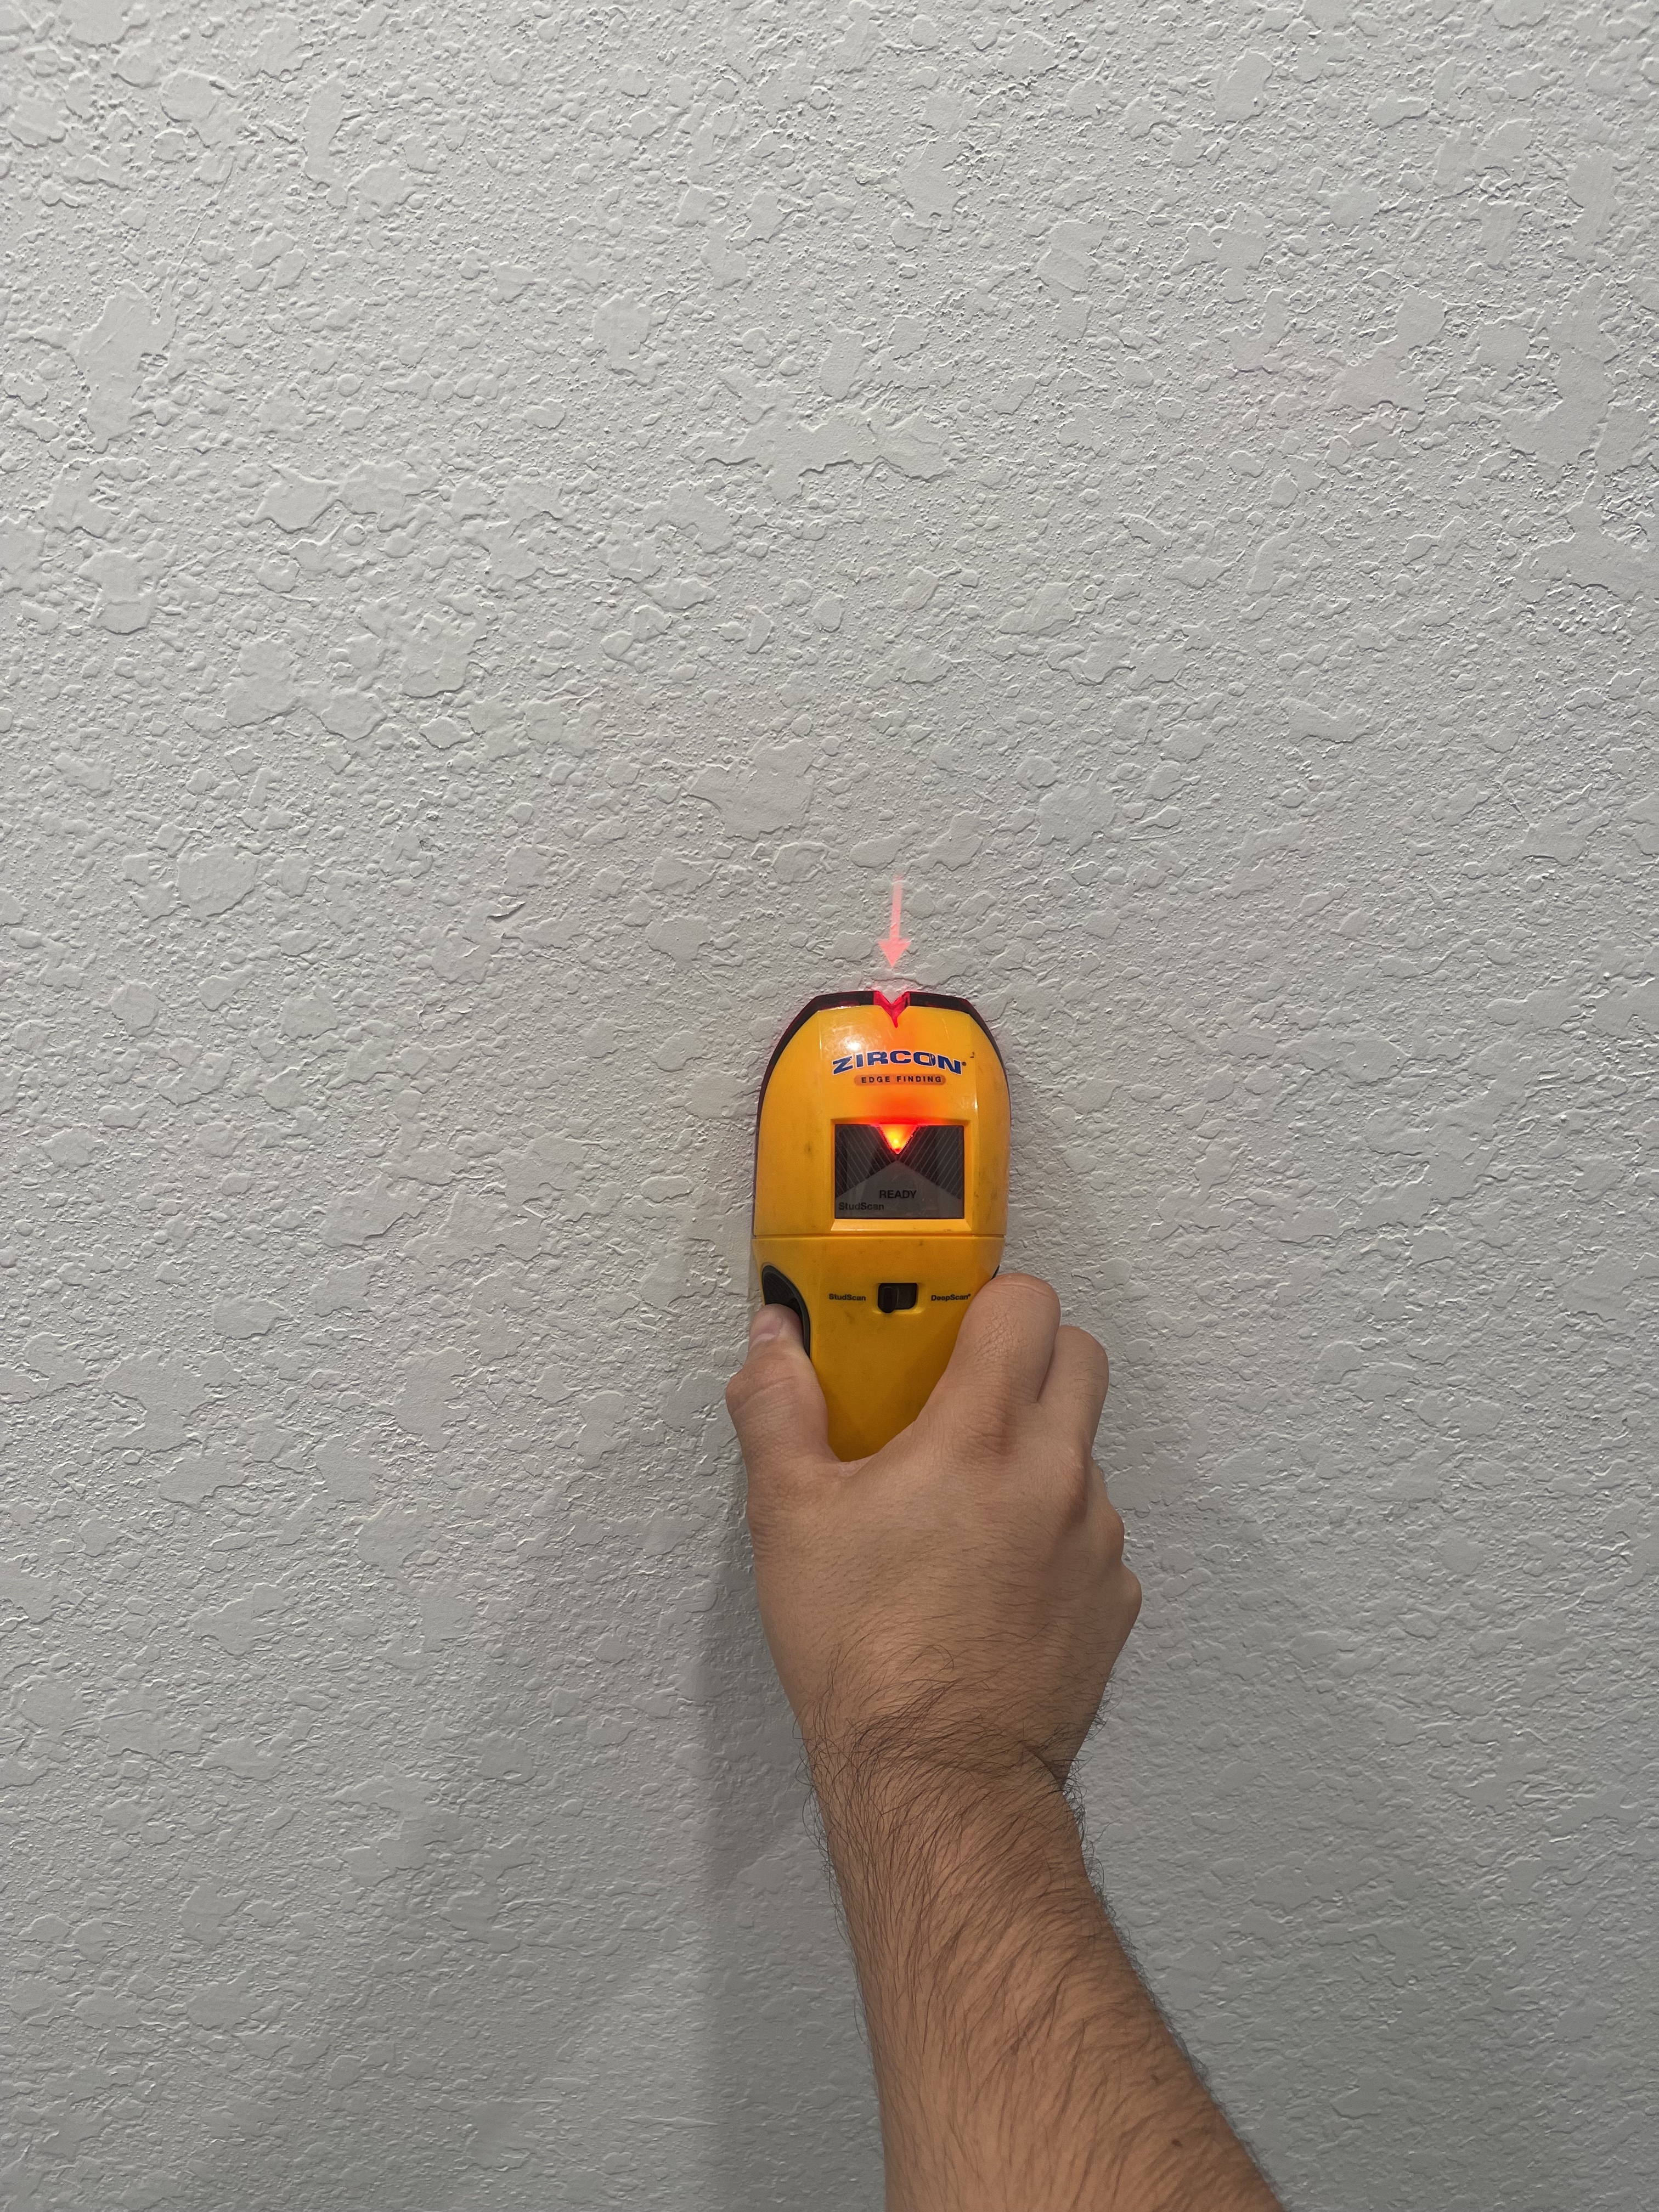
Step 1: Locate Wall Studs
Studs are your best friends when mounting a TV. They provide the necessary support to hold the TV securely.
1. Use a Stud Finder: Run the stud finder along the wall to locate the studs. Mark their positions with painter’s tape.
2. Alternative Methods: If you don't have a stud finder, use a strong magnet to locate screws in the studs or tap a small finish nail into the wall to find the solid wood behind the drywall.
Step 2: Mark the Mounting Location
Determine the ideal height for your TV. A good rule of thumb is to mount the TV so the center of the screen is at eye level when seated.
1. Measure and Mark: Use a tape measure to mark the height from the floor. Hold the mounting plate or paper template against the wall at this height and use a level to ensure it’s straight. Mark the drill holes with a pencil.
Step 3: Drill Pilot Holes
Drill pilot holes where you’ve marked the positions. These holes should be smaller in diameter than the screws provided with your mount.

Step 4: Attach the Mounting Plate
1. Position the Plate: Place the mounting plate over the pilot holes.
2. Secure the Plate: Use the provided screws to attach the plate to the wall. Ensure the plate spans at least two studs for maximum support.
If you cannot reach another stud due to the size of the mounting plate you can use toggle bolts to secure the other side of the plate where there
is no stud available to drill into.

Step 5: Attach the Bracket to Your TV
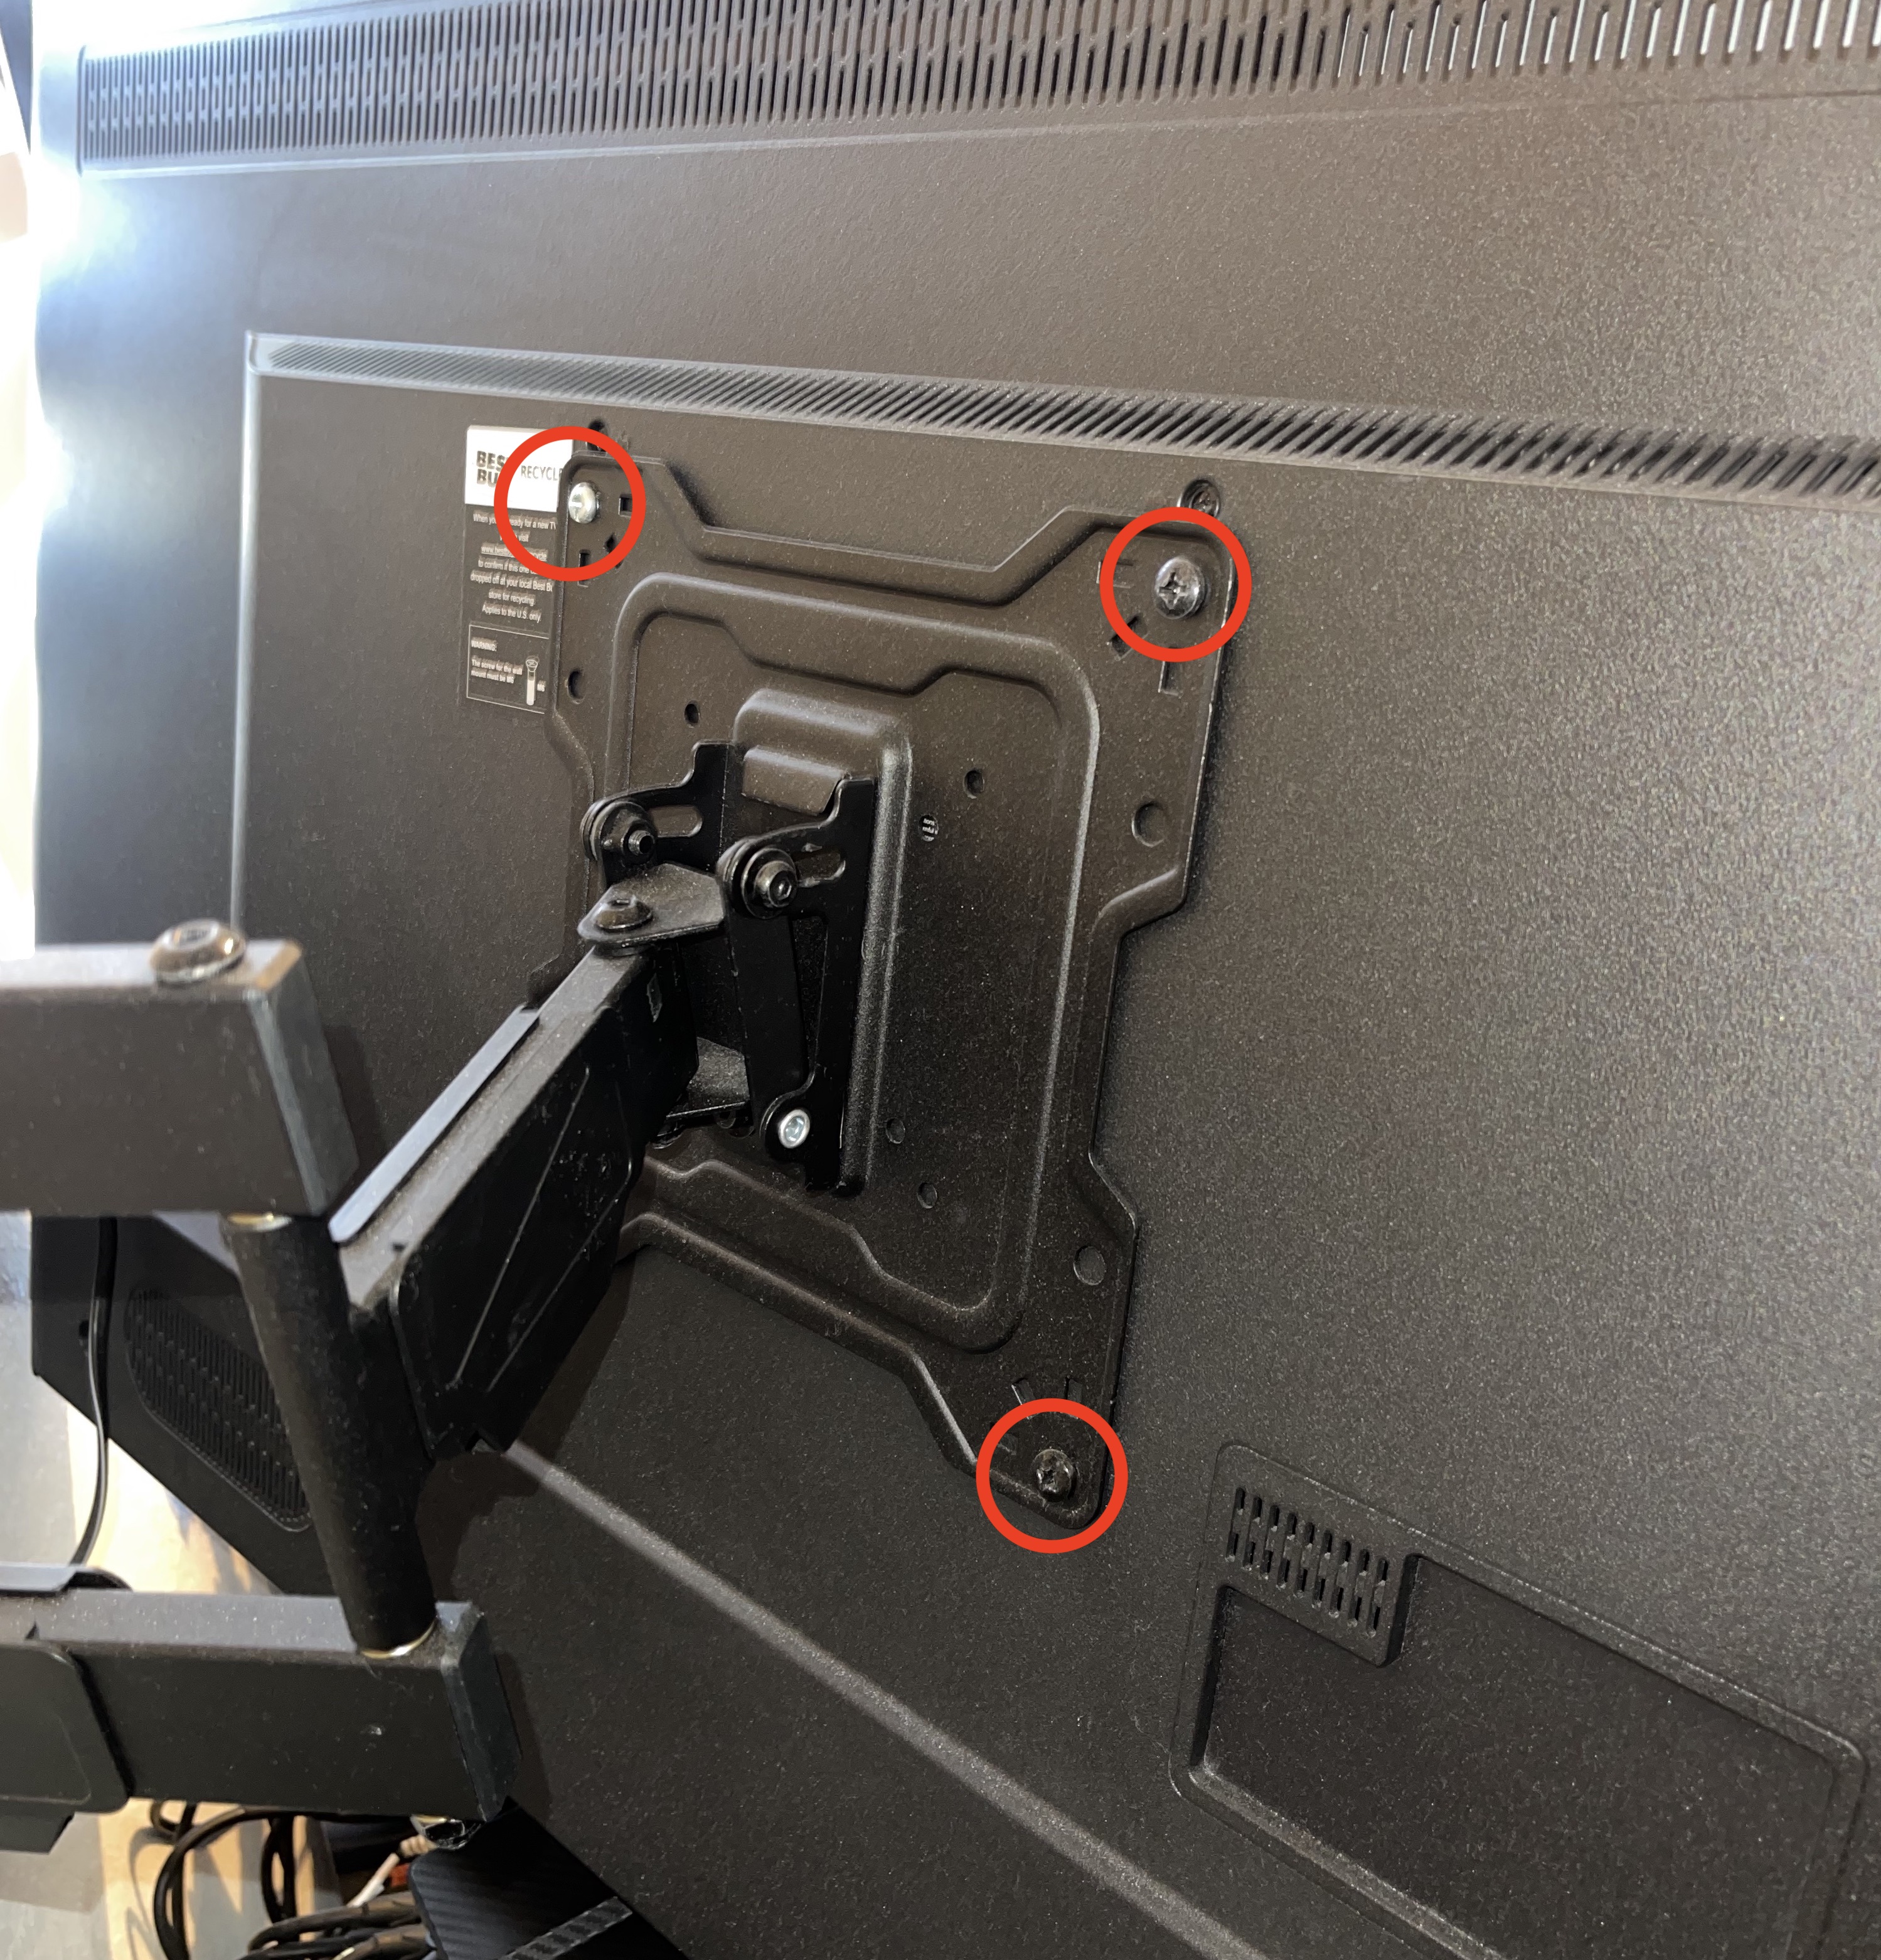
1. Align the Bracket: Line up the mounting bracket with the holes on the back of your TV (Always use the 4 holes available).
2. Secure the Bracket: Use the provided screws and washers to attach the bracket to the TV. Do not overtighten the screws.
Step 6: Mount the TV
With the help of an assistant, lift the TV and attach the bracket to the mounting plate on the wall. Double-check that everything is secure and level.

Mounting on Drywall Without Studs
If you can’t position your TV on studs, you can still mount it using toggle bolts. Note that this method is suitable for fixed or tilting mounts, but not for full-motion mounts.Step 1: Mark and Drill Holes
1. Mark the Locations: Follow the same steps to mark the desired height and ensure it’s level.
2. Drill Holes for Toggle Bolts: Use a drill bit recommended for your toggle bolts to make holes. The holes should be large enough for the folded wings of the toggle bolts to pass through.
Step 2: Insert and Secure Toggle Bolts
1. Attach Toggle Bolts to Plate: Insert the bolts through the mounting plate and attach the wing units.
2. Insert into Holes: Push the toggle bolts into the holes until the wings snap open behind the drywall.
3. Tighten Bolts: Pull the plate gently towards you while tightening the bolts with a drill.
Step 3: Mount the TV
As with stud mounting, attach the TV to the mounting plate, ensuring everything is secure and level.
Mounting on Concrete Walls
Mounting a TV on a concrete wall is a bit different from mounting it on drywall or wood studs, but it can provide a very secure and sturdy setup. Here’s how you can do it:Step 1: Choose the Right Anchors
For concrete walls, you’ll need heavy-duty anchors that can penetrate and hold securely in concrete.
Concrete wedge anchors or sleeve anchors are good choices. Make sure they are rated to support the weight of your TV and mount.
Step 2: Mark the Mounting Location
Determine the ideal height for your TV. Remember to take into account the height of your seating arrangement so that the center of the screen is at eye level when seated.
1. Measure and Mark: Use a tape measure to mark the height from the floor. Hold the mounting plate or paper template against the wall at this height and use a level to ensure it’s straight. Mark the drill holes with a pencil.
Step 3: Drill Holes in the Concrete
1. Hammer Drill: Use a hammer drill with a masonry bit to drill holes at the marked locations. Ensure that the diameter of
these holes aligns with the size of your concrete anchors. When employing
Tapcon Concrete Screw Anchors, it's essential to slightly
reduce the hole size compared to the screw diameter. This adjustment allows the screw to securely grip the concrete surface.
2. Depth: Drill to a depth slightly deeper than the length of the anchors. Most anchors will specify the depth required.
Step 4: Insert Concrete Anchors
1. Place Anchors: Insert the concrete anchors or masonry screws into the drilled holes.
You may need to use a hammer to tap them in until they are flush with the wall.
2. Secure Anchors: If you are using wedge anchors, tighten the nuts on the anchors to expand
them within the concrete, securing them in place.
Step 5: Attach the Mounting Plate
1. Align the Plate: Place the mounting plate over the anchors. Make sure the holes in the plate line up with the anchors.
2. Secure the Plate: Use lag bolts or the bolts provided with your anchors to attach the plate firmly to the wall. Use a cordless drill to tighten the bolts securely.
Step 6: Attach the Bracket to Your TV
1. Align the Bracket: Line up the mounting bracket with the holes on the back of your TV.
2. Secure the Bracket: Use the provided screws and washers to attach the bracket to the TV. Do not overtighten the screws.
Step 7: Mount the TV
With the help of an assistant, lift the TV and attach the bracket to the mounting plate on the wall. Double-check that everything is secure and level.
Safety Tips
Weight Limits: Ensure your wall and mounting hardware can support the TV's weight.
Circuit Breakers: Turn off any circuit breakers before drilling to avoid hitting electrical wires
Professional Help: For TVs larger than 70 inches or for complex installations like in-wall power extensions,
consider hiring a professional.
When Should You Call A Professional
Mounting your TV on the wall can significantly enhance your viewing experience and free up space. By following these steps, you can achieve a professional-looking installation that is both secure and aesthetically pleasing.
However, if you're unsure about tackling this project yourself or if you want the assurance of expert craftsmanship, don't hesitate to reach out to us at FixMasters Handyman Services. Our experienced team is ready to assist you in creating the perfect entertainment setup. Call us today at (305) 608-8820 and let us handle the job with precision and care.